Building a tracking cookies consent banner in React
Jun 10, 2024

If you’ve spent any time online, you’ve seen a cookie consent banner. Because of GDPR and other worldwide internet privacy regulations, most sites need to get consent to track users and use cookies.
To help you stay compliant, PostHog enables you to track users either with or without cookies. In this tutorial, we are going to build a simple banner with React, JavaScript, and HTML for users to opt in or out of PostHog’s cookies.
To complete this tutorial, you’ll need to a PostHog instance as well as Node installed (to install, manage, and run React).
Step 1: Setting up React
This tutorial is for React, but it works for other JavaScript frameworks as well (we have specific tutorials for Next.js and Vue).
We'll set up our React app with Vite. To do this, head into the command line, then create and install the app (we name ours react-cookie-banner).
Running these commands gives us a working React app.

Step 2: Setting up PostHog
Next, we want to set up PostHog to track activity on our site. To do this, first, we’ll install the posthog-js package.
Next, we’ll go to src/main.jsx to initialize PostHog. We’ll import PostHog and the PostHogProvider component from posthog-js/react and run posthog.init with our project key and instance address (which you can get in your project settings)
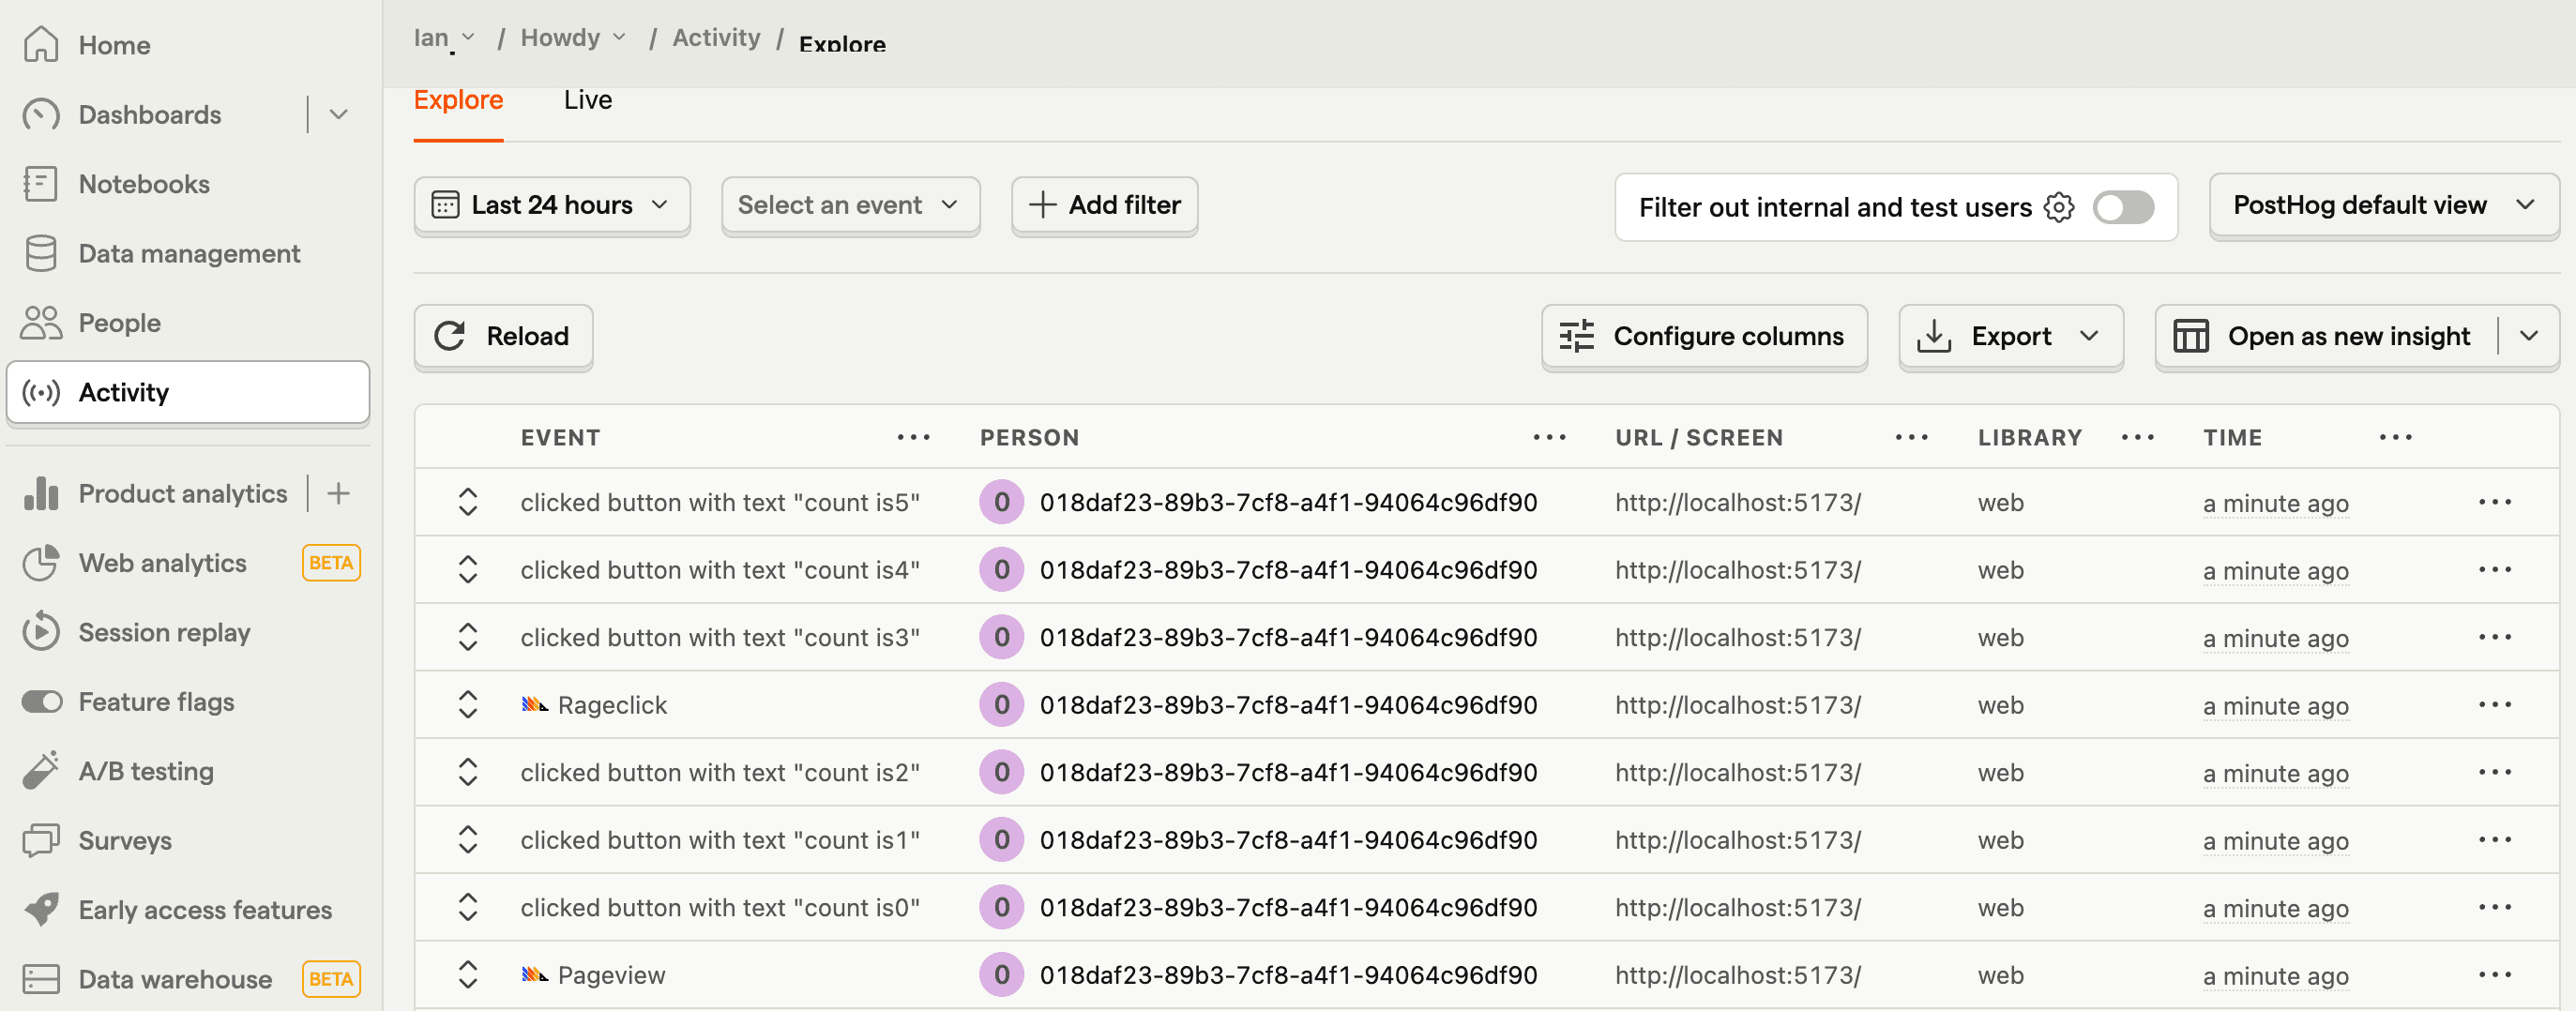
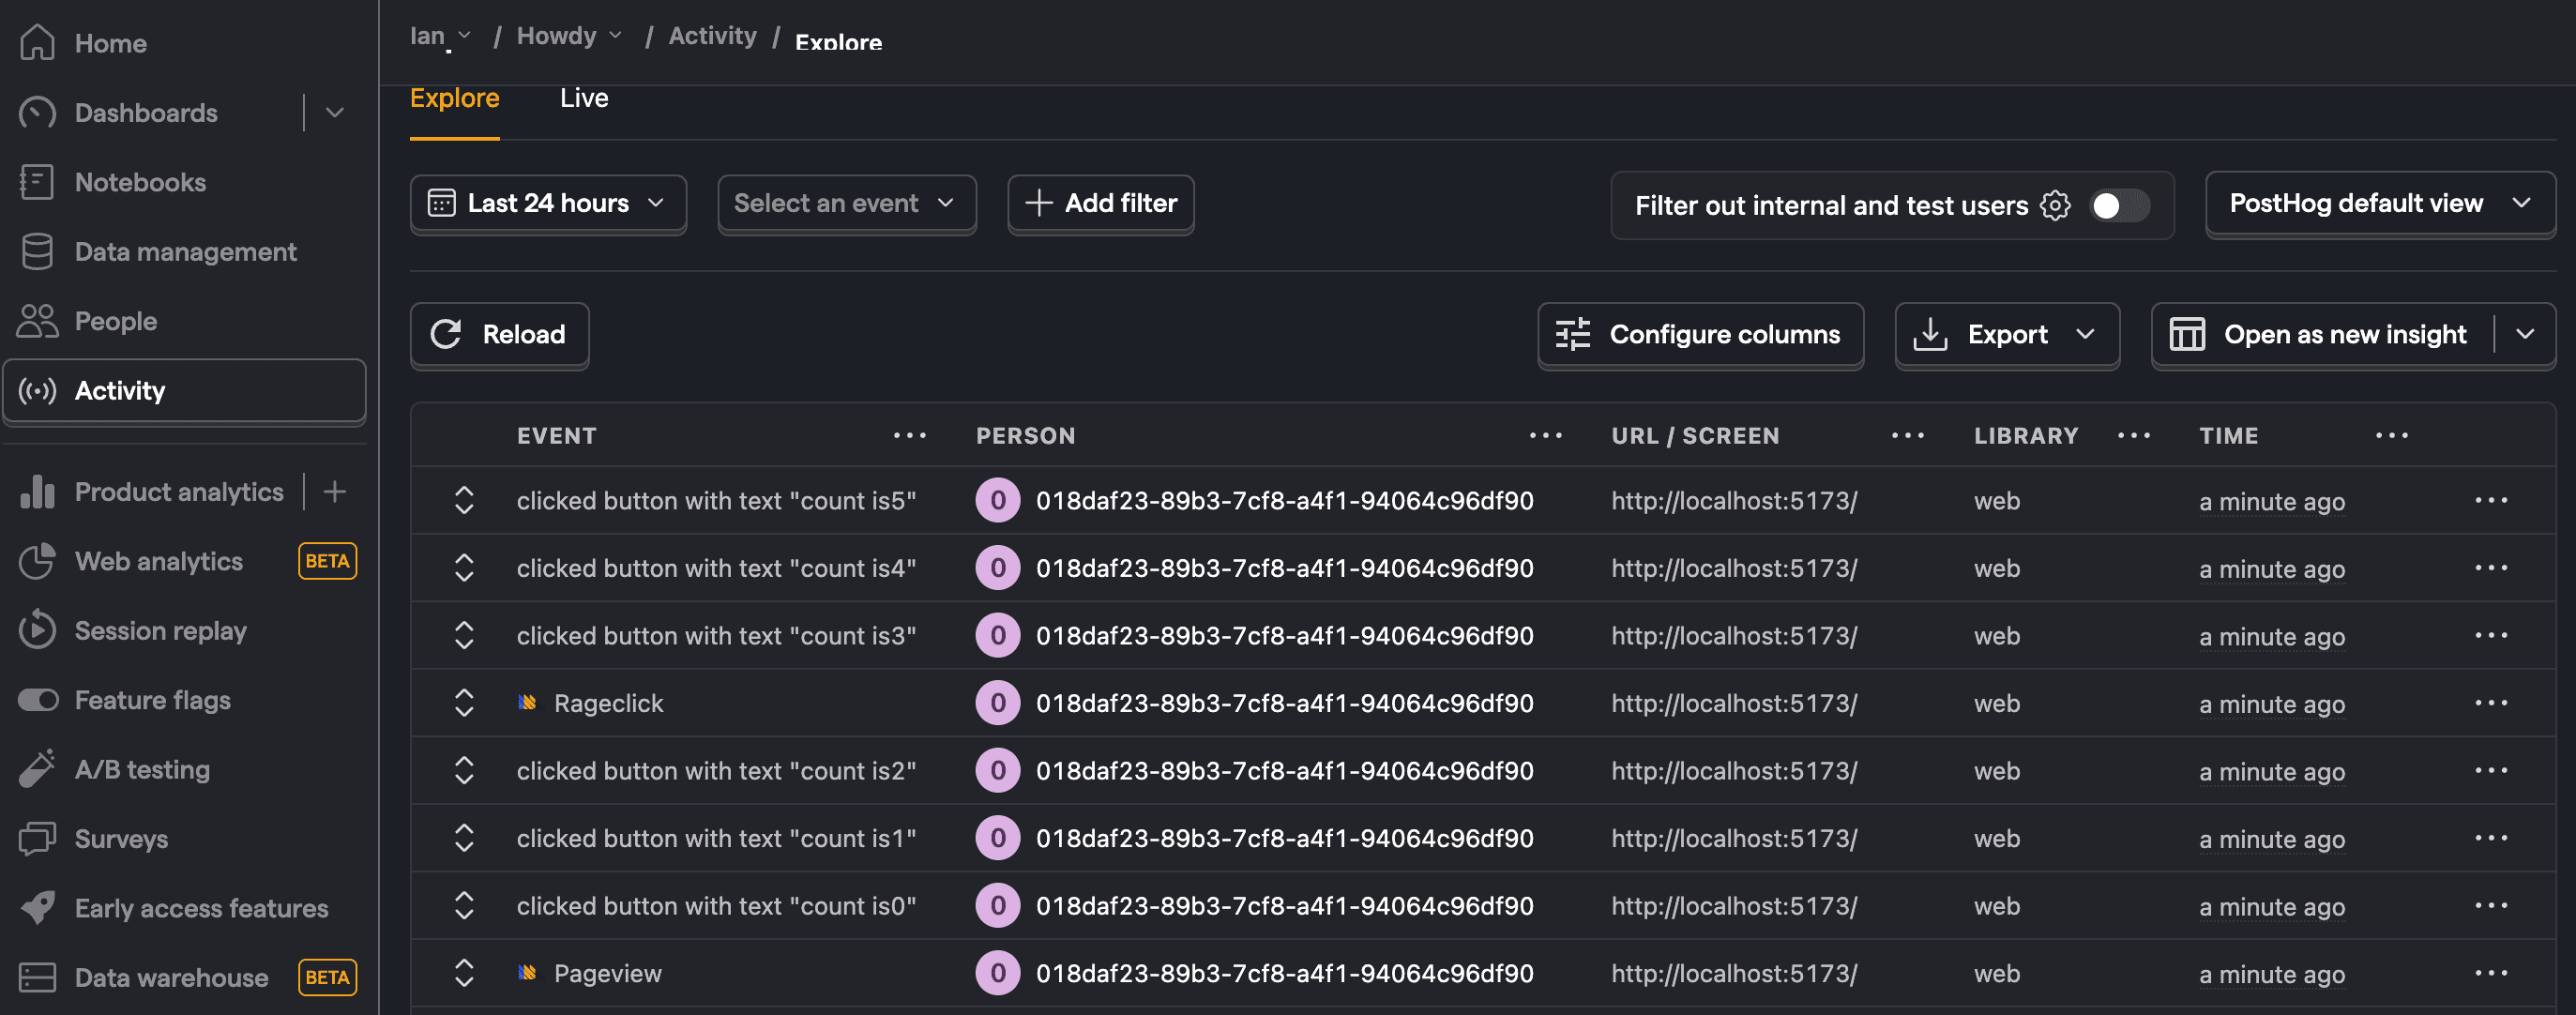
Once done, visit your site running locally, click the button, and you should start seeing events in your PostHog activity tab.
When we head back to our local site, right-click, choose inspect, go to the Application tab, and check cookies, you’ll see we’ve created a tracking cookie with details about PostHog and the user.

Step 3: Building the banner component
Now that we have our site and PostHog library set up, it is time to create the banner. To start, we can create a Banner.jsx file in our src folder (where the rest of our React code is).
In the Banner.jsx file, we’ll create a basic React component function with wording about cookies and accept or decline buttons.
We’ll then add the new CookieBanner component into main.jsx.
When we head back to the local site, we’ll see our cookie banner at the bottom of the site.

Step 4: Setting and storing consent
Next, we’ll add the logic for setting and storing the user's consent. Back in our Banner.jsx file, we:
- Add
handleAcceptCookiesandhandleDeclineCookiesto our buttons that set the consent state and store it in local storage. - Add a
cookieConsentGiven()function to check if the user has made a consent decision. - Conditionally show our banner depending whether that decision has been made.
Together, this looks like this:
Back on our site, clicking accept or decline now stores the decision in local storage and hides the banner.
Step 5: Connecting consent to PostHog
So far, our cookie banner is just for show. We want it to control whether PostHog uses cookies or not. This means we either set persistence to localStorage+cookie or memory depending on the user's consent. We need to do this in two places:
- Change PostHog's persistence at runtime when a user makes a consent decision in
Banner.jsx. - Use the consent decision to decide PostHog's initial persistence in
main.jsx.
In Banner.jsx, we import PostHog and use a useEffect hook to change PostHog's persistence at runtime.
In main.jsx, we reuse the cookieConsentGiven function to set the initial persistence based on the user's consent.
Step 6: Testing it all out
To make sure everything works, try the following steps:
- Go to the site.
- Delete your PostHog key in local storage and cookies (found in the Application tab after inspecting).
- Reload the site then click accept or decline on the banner.
- Check the banner disappears and whether cookiess are set or not.
- Reload the page and check that the banner doesn’t load.
If all that works, you’ve set up a basic tracking cookies consent banner in React. From here, you can customize it to your needs (such as adding other cookies) and the rest of your site’s design.
Beyond cookie consent banners
If you’re interested in going further into tracking, data management, and cookies, check out these other resources:
- A tutorial on setting up cookieless tracking.
- A guide to setting up a reverse proxy to help your data stay first-party.
- Sign up for our EU Cloud.

Subscribe to our newsletter
Product for Engineers
Read by 45,000+ founders and builders.
We'll share your email with Substack
Questions? Ask Max AI.
It's easier than reading through 609 docs articles.